Auto fix a tiny program developed by Microsoft used to fix errors found on your flash drives and it is unique in its own little way it is small in size and doesn't take up much ram. It also works on windows 98/2000/xp/vista not sure about windows 7 but it should work. You can download Auto Fix here, after you have downloaded the program plug in your flash drive and run the executable file. you will see the user interface in the screenshot below.
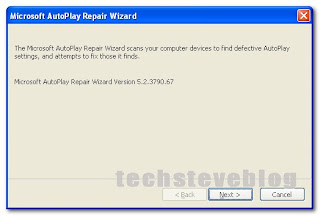
Now all you have to do is click Next.
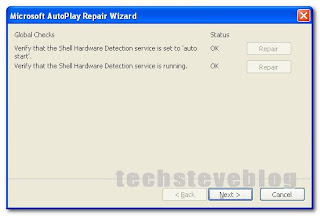
For me I didn't have any problems so far because the Repair buttons are grayed out but if you see the repair buttons for both options appear just click Repair for both options and click Next.
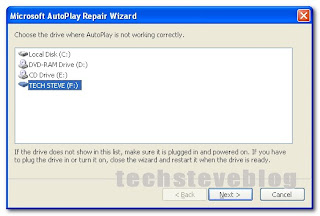
Now Select the flash drive you want to repair in my case I used mine then click Next.
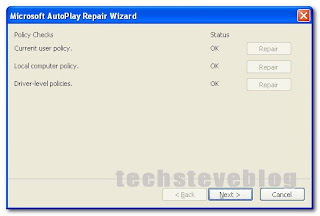
For me my jump drive was OK but I am just showing you this just for demonstration purposes now all you have to do is click Repair for all three options then click Next.
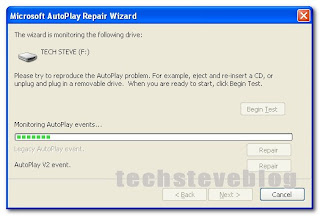
I clicked on Begin test and it started to do an Auto play events test on the flash drive , so all you have to do is click on Repair and click Next then click Finish and you're done.
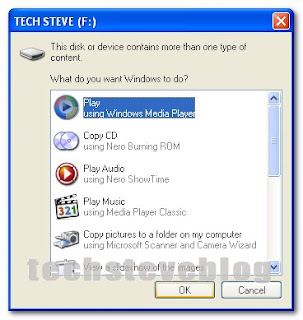
When you're finish unplug the flash Drive and insert it in back and you should see your auto play options dialogue box appear Nice!!!!. If you don't see it restart the computer for the changes to take effect. And if it still does'nt work repeat the steps again. Well I hope you found it useful and again thanks for reading techsteve blog.


No comments:
Post a Comment